Material proxies are a neat little feature of the Source engine that let you alter various properties of a material dynamically. This can produce some neat effects, as the texture position, scale, rotation, transparency and much more can be changed continuously, or even in response to game events.
Take Half-life 2, for example. You know those combine force-fields, that ripple with energy, and fade out as you move away from it? Or in Team Fortress 2, you’ll have seen the rotating radar screen in the 2fort basement. Both those effects are done with material proxies.
Force fields and computer screens animated with material proxies
For this post, I’ve prepared four materials that provide a gradual introduction to several different ways of using proxies. Since proxies are all about animated textures, screenshots alone won’t be very informative, so I’ve made a “Proxy Museum” HL2 map with these examples in. Download it and run HL2 in a window so you can follow along the article and see the results alongside. The first example is in the first room, on the left-hand wall.
Download the proxy_museum example map
Let’s start with a simple example. Here is the VMT for a basic texture, a section of carpet:
    "LightmappedGeneric"
    {
    	"$basetexture" "overlays/redrunner001b"
    }
One of the easiest things to do with proxies is to make a scrolling texture, with the “TextureScroll” proxy. Here’s the same texture, only now it is a moving piece of infinite carpet:
    "LightmappedGeneric"
    {
    	"$basetexture" "overlays/redrunner001b"

        "Proxies"
        {
            "TextureScroll"
            {
                "textureScrollVar" "$basetexturetransform"
                "textureScrollRate" 0.25
                "textureScrollAngle" 90
            }
        }
    }
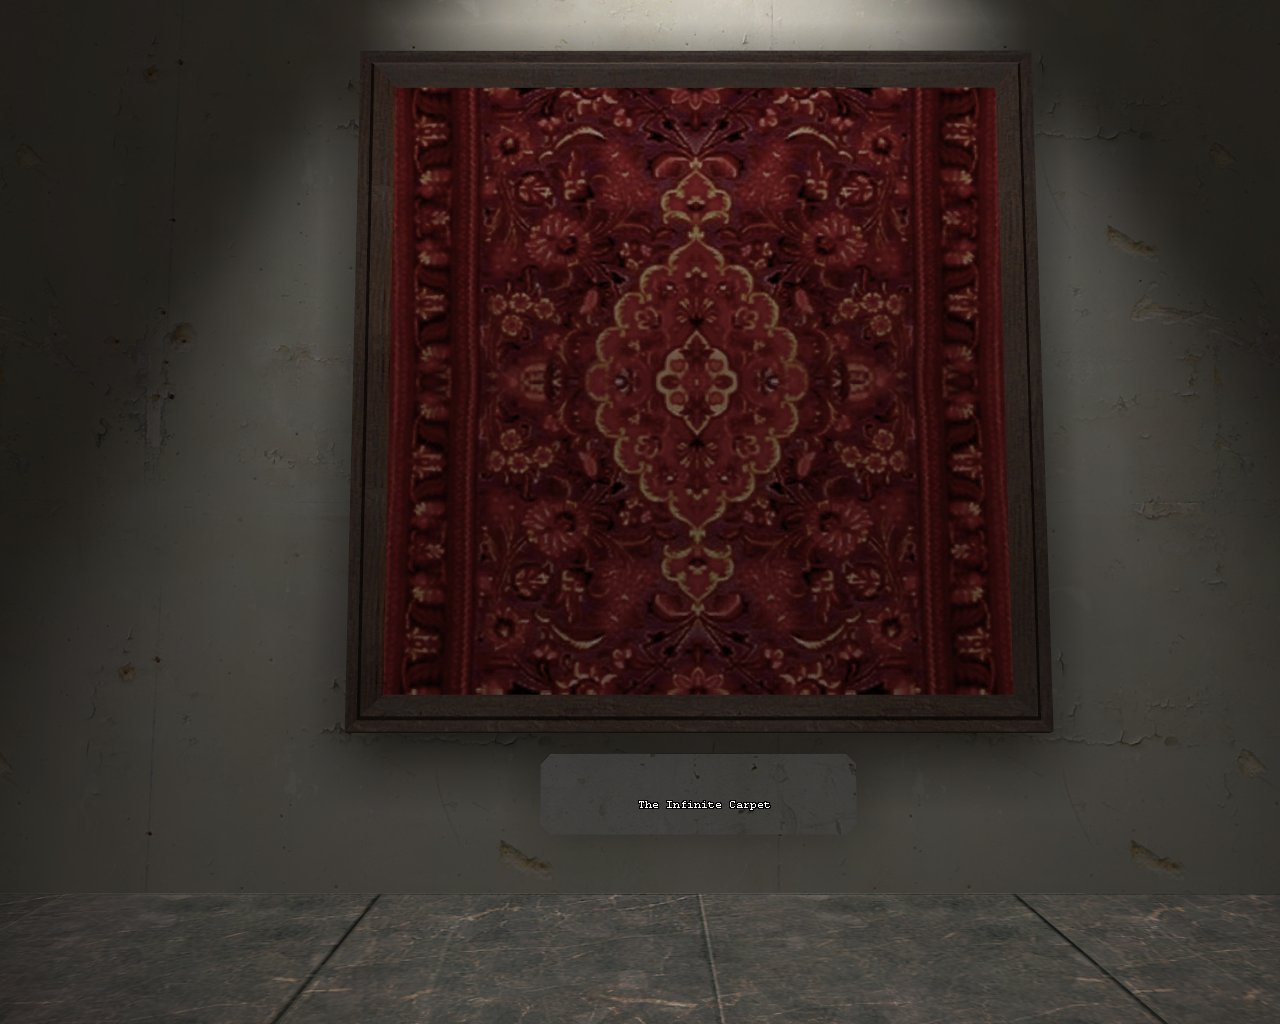
This carpet scrolls endlessly.
The Valve developer wiki has a good reference for many of the proxies available; here’s what it says about TextureScroll:
TextureScroll
Returns a transform matrix or vector that will translate a texture at a given angle at a given rate.
- textureScrollVar — Destination for the resulting transformation.
- textureScrollRate — Rate of scroll in units per second.
- textureScrollAngle — Angle of rotation to move along. (90 = up, 180 = left, etc)
So just by adding these few lines, we now have a texture that scrolls vertically, scrolling one full length in four seconds (0.25 units per second). The most important bit here is the value we give for textureScrollVar. All proxies need to store their output somewhere; here we are telling it to store its output into the $basetexturetransform property.
If you’re familiar with material properties, you’ll know that $basetexturetransform allows you to scale, rotate, and offset the texture; for example, setting “$basetexturetransform” “center .5 .5 scale 1 1 rotate 0 translate 0 .5” directly in your VMT would cause the texture to appear shifter vertically by half its size. However by using a proxy, the basetexturetransform is updated for every frame that’s rendered, producing a very smooth scroll.
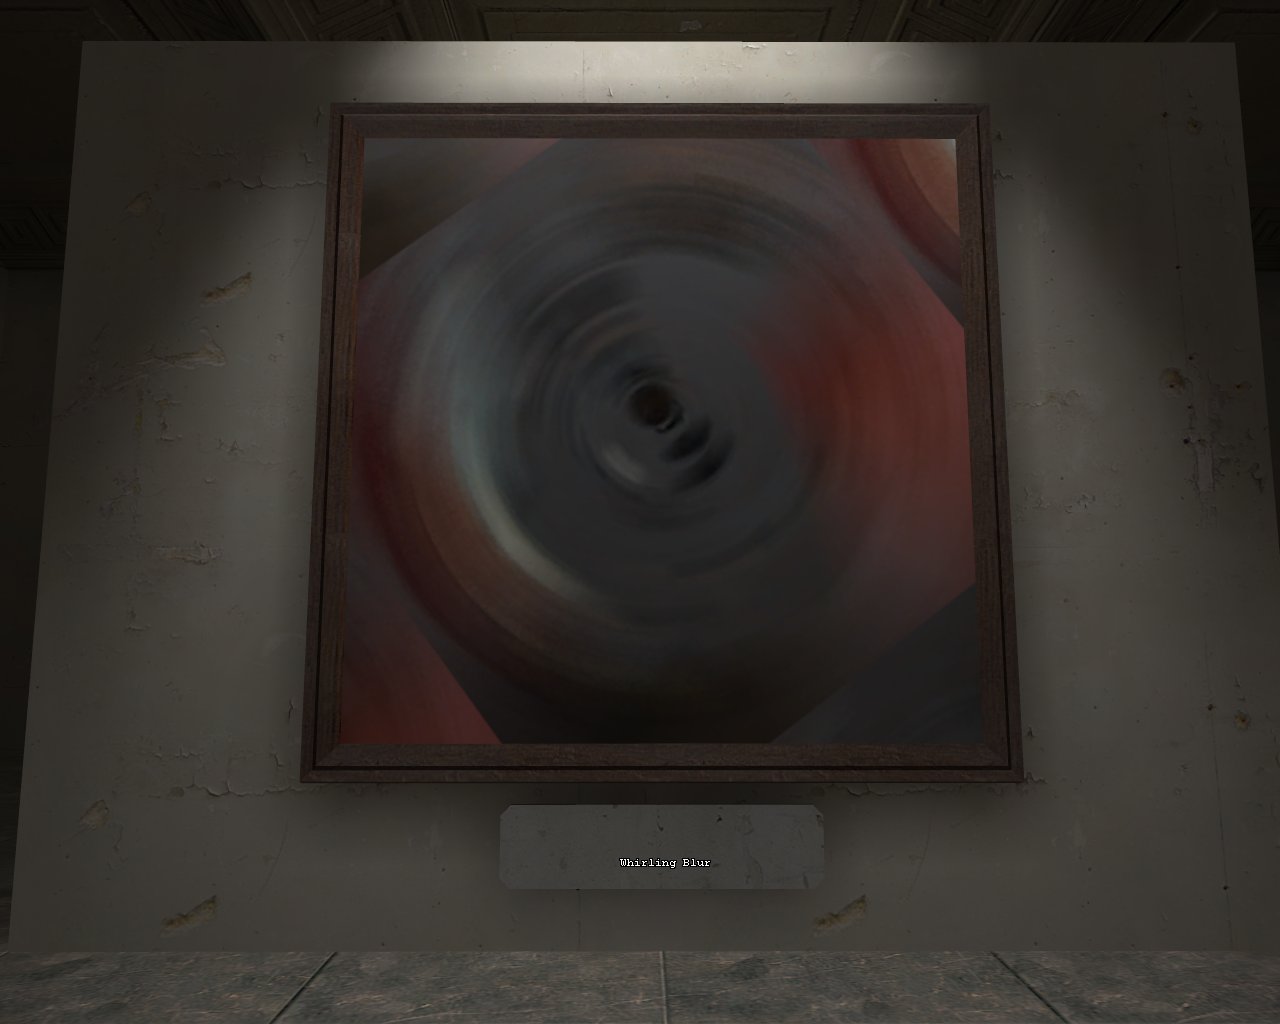
This picture constantly rotates.
Now turn around, and look at the picture opposite. Here you have the classic impressionist portrait, which portrays the sitter as merely a tiny part of the endless circle of life. I’m sorry, I mean it shows a constantly rotating material.
Here’s the VMT for this material:
    "LightmappedGeneric"
    {
        "$basetexture" "models/props_c17/bladeblur"

        "$angle" 0.0
        "$translate" "[0.0 0.0]"
        "$center" "[-0.5 -0.5]"

        "Proxies"
        {
            "LinearRamp"
            {
                "rate" 45
                "initialValue" 0.0
                "resultVar" "$angle"
            }

            "TextureTransform"
            {
                "translateVar" "$translate"
                "rotateVar" "$angle"
                "centerVar" "$center"
                "resultVar" "$basetexturetransform"
            }
        }
    }
Unlike the previous example, there’s no proxy specifically for continuously rotating textures, so instead we use the TextureTransform proxy:
TextureTransform
Generates a texture transform matrix.
- centerVar — Name of a variable holding the center of rotation and scaling. [Optional]
- scaleVar — Name of scale variable (2D vector). [Optional]
- rotateVar — Name of rotation angle variable (float). [Optional]
- translateVar — Name of the translation variable (2D vector).
- resultVar — Resulting value.
This proxy lets you set the texture’s scale, rotation, and translation all at once, but instead of giving it values directly, now we need to create variables, and give the variable names to TextureTransform. To create a variable, just give it a name (beginning with $) and a starting value, before the Proxies section:
        "$angle" 0.0
        "$translate" "[0.0 0.0]"
        "$center" "[-0.5 -0.5]"
The type of the variable depends on the value; $angle is just a number, while $translate and $center are 2-dimensional vectors. $center will be the center of rotation, wile $translate is how much to offset the texture. We don’t want to offset it at all actually, but TextureTransform insists that you give a value for “translateVar”.
If that was all we had, the texture would be nicely rotated by zero degrees; so we need to make the angle always increasing so the texture rotates continuously.
LinearRamp
Produces an ever increasing value.
- rate — Rate of increase of the value.
- initialValue — Initial value to increase.
- resultVar — Resulting value.
LinearRamp to the rescue: by adding the LinearRamp proxy, we make $angle increase by 45 degrees every second.
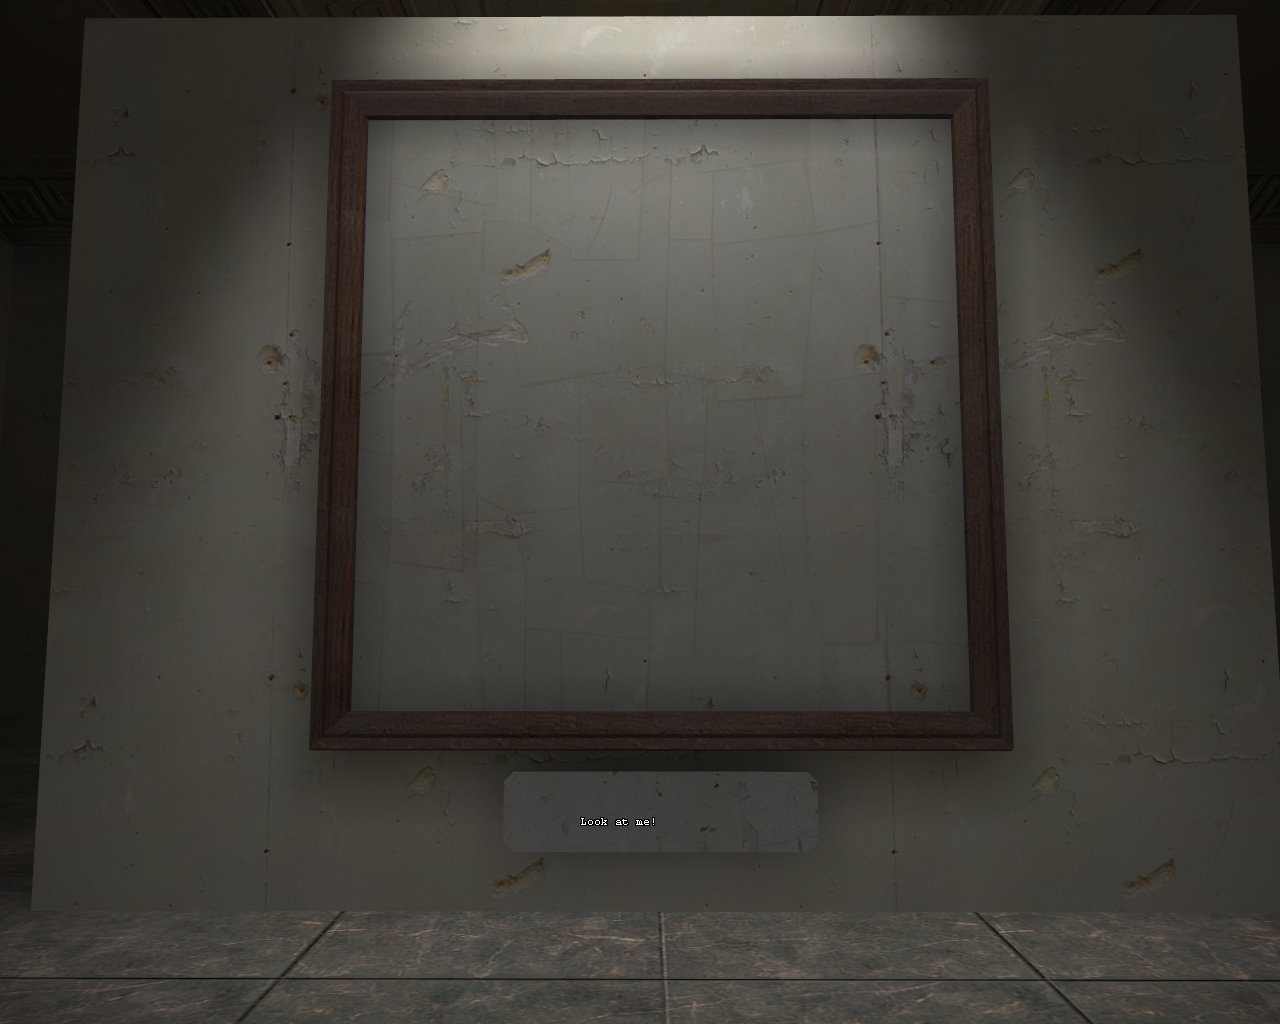
The picture disappears as you look at it.
Around the other side of this central wall is an interesting picture, that you cannot easily see—it fades away when you look at it directly. Can you guess how this was done? That’s right, proxies! Here’s the VMT for the material:
    "LightmappedGeneric"
    {
        "$basetexture" "Metal/metalwall078a"
        "$surfaceprop" "metal"

        "$envmap" "env_cubemap"
        "$envmaptint" "[ .56 .56 .75 ]"

        "$bumpmap" "metal/metalwall078a_normal"
        "$nodiffusebumplighting" 1
        "$normalmapalphaenvmapmask" 1

        "$dpscale" 7.0
        "$dotproduct" 0.0
        "$alpha_unclamped" 0.0

        "Proxies"
        {
            "PlayerView"
            {
                "scale" 7.0
                "resultVar" "$dotproduct"
            }
            "Subtract"
            {
                "srcVar1" "$dpscale"
                "srcVar2" "$dotproduct"
                "resultVar" "$alpha_unclamped"
            }
            "Clamp"
            {
                "min" 0.0
                "max" 1.0
                "srcVar1" "$alpha_unclamped"
                "resultVar" "$alpha"
            }
        }
    }
The Valve wiki describes the PlayerView proxy like this:
PlayerView
Stores the dot product of the view direction + the direction from the camera to the entity the material is on.
- scale — Amount to scale the dot product by.
- resultVar — Resulting value.
What all that actually means is that its result will be 1.0 if the player is looking directly at the center of the material, decreasing down to 0.0 if looking at right angles to it, and to -1 when the player is facing away. Here we scale that by 7.0 to get a result from -7.0 to 7.0 in the $dotproduct variable.
There are a number of proxies for performing mathematical calculations: Add, Subtract, Multiply, Divide, and more. Here we use two of them:
Subtract
Subtracts the second variable from the first.
- srcVar1
- srcVar2
- resultVar
Clamp
Keeps a variable within a specified range.
- min,
- max — The acceptable range of values
- srcVar1
- resultVar
We subtract $dotproduct from seven so it will range from zero when looking directly at the material to fourteen when looking away, and store the result in $alpha_unclamped.
Finally, since the $alpha value is expected to be between zero and one. Fourteen is obviously well out of that range, so we clamp $alpha_unclamped so that it’s never less than zero or more than one, and store the result in $alpha. The end result is that the material is now fully transparent when looking at the center of it, becomes opaque as the player looks away.
The tint of the material is animated randomly.
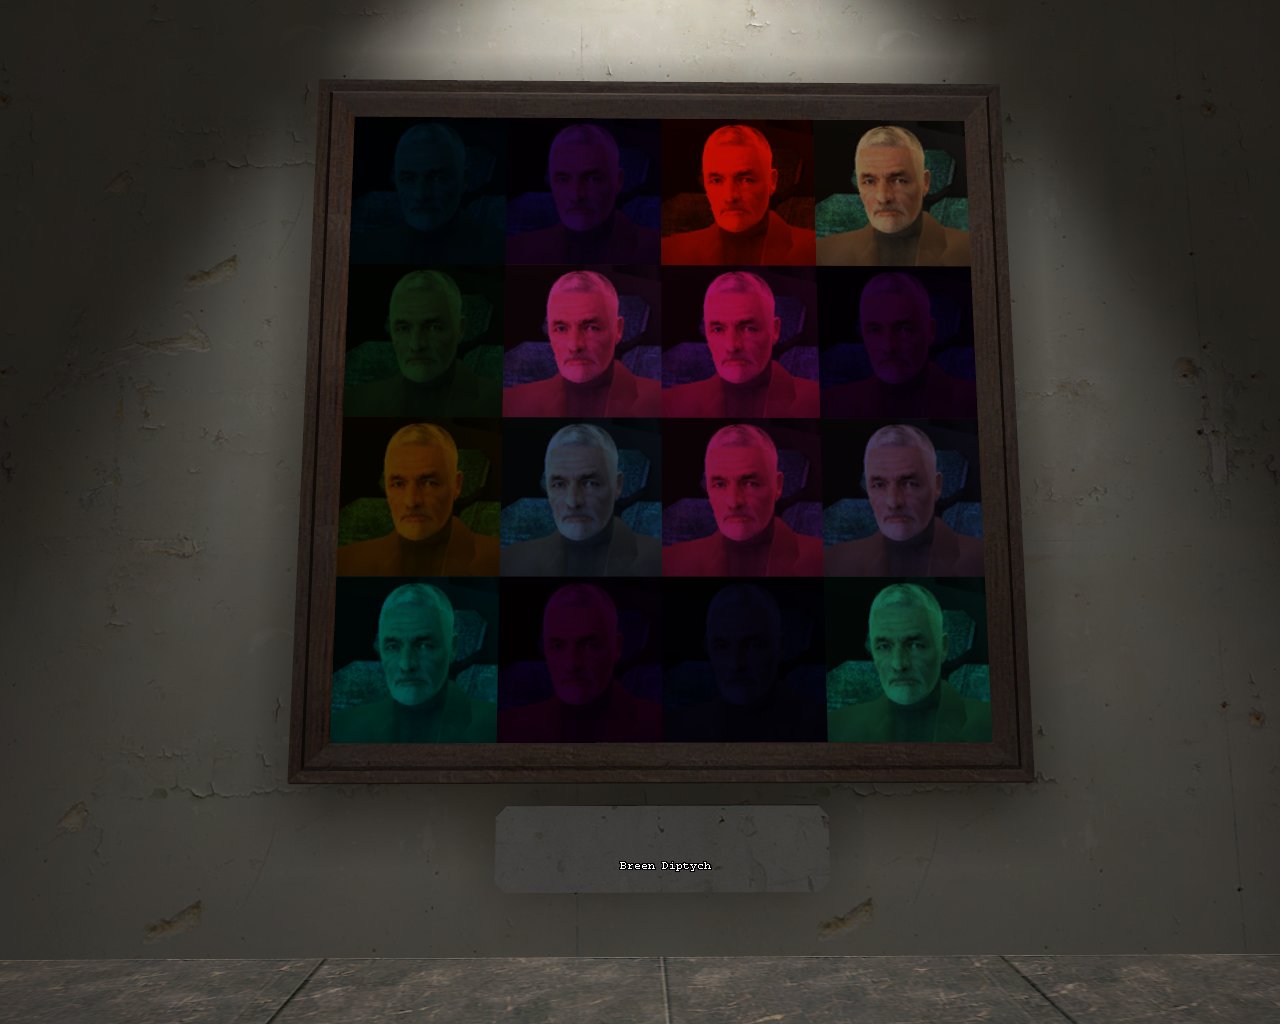
The final picture in the gallery shows Dr. Breen in his true colours—all of them. Taking inspiration from Andy Warhol, sixteen func_brushes with portraits of Dr. Breen are arranged in a mosaic. The same material is applied to each of them, the variation is controlled by proxies:
    "LightmappedGeneric"
    {
    	"$basetexture" "scripted/breen_fakemonitor_"

        // The base texture will be multiplied by this color
        "$color" "[1.0 1.0 1.0]"

        "$offset" "0"

    	"Proxies"
    	{
            "EntityRandom"
            {
                "scale" "12"
                "resultVar" "$offset"
            }
            "Sine"
            {
                "sineperiod" 4
                "timeoffset" "$offset"
                "resultVar" "$color[0]"
            }
            "Sine"
            {
                "sineperiod" 8
                "timeoffset" "$offset"
                "resultVar" "$color[1]"
            }
            "Sine"
            {
                "sineperiod" 12
                "timeoffset" "$offset"
                "resultVar" "$color[2]"
            }
    	}
    }
Here we are manipulating $color, a standard material property which is a vector of red, green, and blue values that tints the texture. This material modifies the red, green, and blue values independently to vary the tint, with three sine waves.
Sine
Creates a sine wave.
- sineperiod — Period of the sine wave in seconds.
- sinemin — Minimum value of the sine wave.
- sinemax — Maximum value of the sine wave.
- timeoffset — Used to start the sine wave at a different point in time
- resultVar — Resulting value.
The Sine proxy does exactly what it says on the tin: creates a sine wave. The sinemin and sinemax paramters default to 0 and 1 if not set. So the three Sine proxies we use are creating 3 sine waves with periods of 4, 8, and 12 seconds respectively.
Another important point to note here: the $color material property is a three-element vector. When outputting values from proxies, using square brackets with a number will set just a single element of a vector. So the first Sine proxy in this material outputs to “$color[0]”, changing the red value only.
The other proxy in this material is quite important for the effect. If we just had the three Sine proxies, all the sixteen portraits would animate together. So we want each of them to start its sine waves from a different point, for which we use the EntityRandom proxy:
EntityRandom
A proxy that returns a random number associated with the entity the material is applied to. Can be helpful for making animated textures not all be in sync.
- scale — Amount to scale the random number by.
- resultVar — Resulting value.
Using this, each brush will animate starting at a different point in the 12-second cycle, producing the final effect that you see.
Material proxies allow you to do some very cool effects. This article has just scratched the surface of what you can do with them. If you want to learn more, read the Valve developer wiki’s page on proxies and its list of proxies for guidance, but to really learn you’ll need to study existing examples, and experiment for yourself.
Three practical examples of material proxy use.
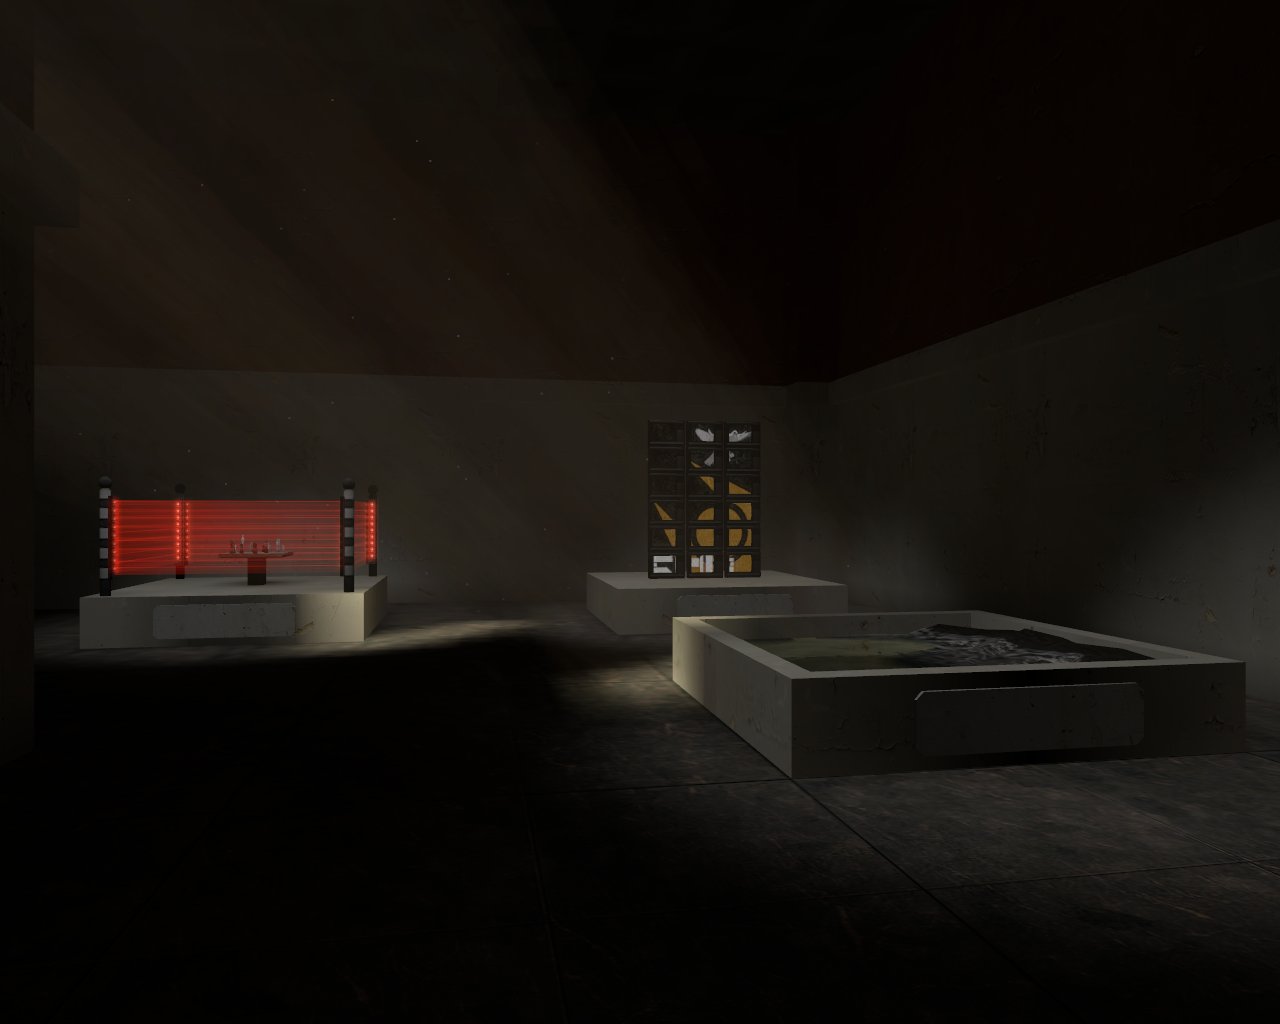
If you walk into the remaining room of the museum, you’ll find three more displays: each of these shows the use of material proxies to achieve a practical effect.

The waves are animated with proxies.
Ocean waves: Three sine waves and numerous calculations are used to animate simple waves breaking on the shore. The wave moves into the shore at a slight angle, washes up, then washes away, fading quickly.

The TV screens flicker and jump.
Combine TV: A staticky TV screen image that constantly jumps as if reception is poor. This uses two GuassianNoise proxies to generate random numbers to control the jumping of a base texture, and a UniformNoise proxy to randomly offset the second texture of the UnlitTwoTexture shader.
The laser beams flicker and fade.
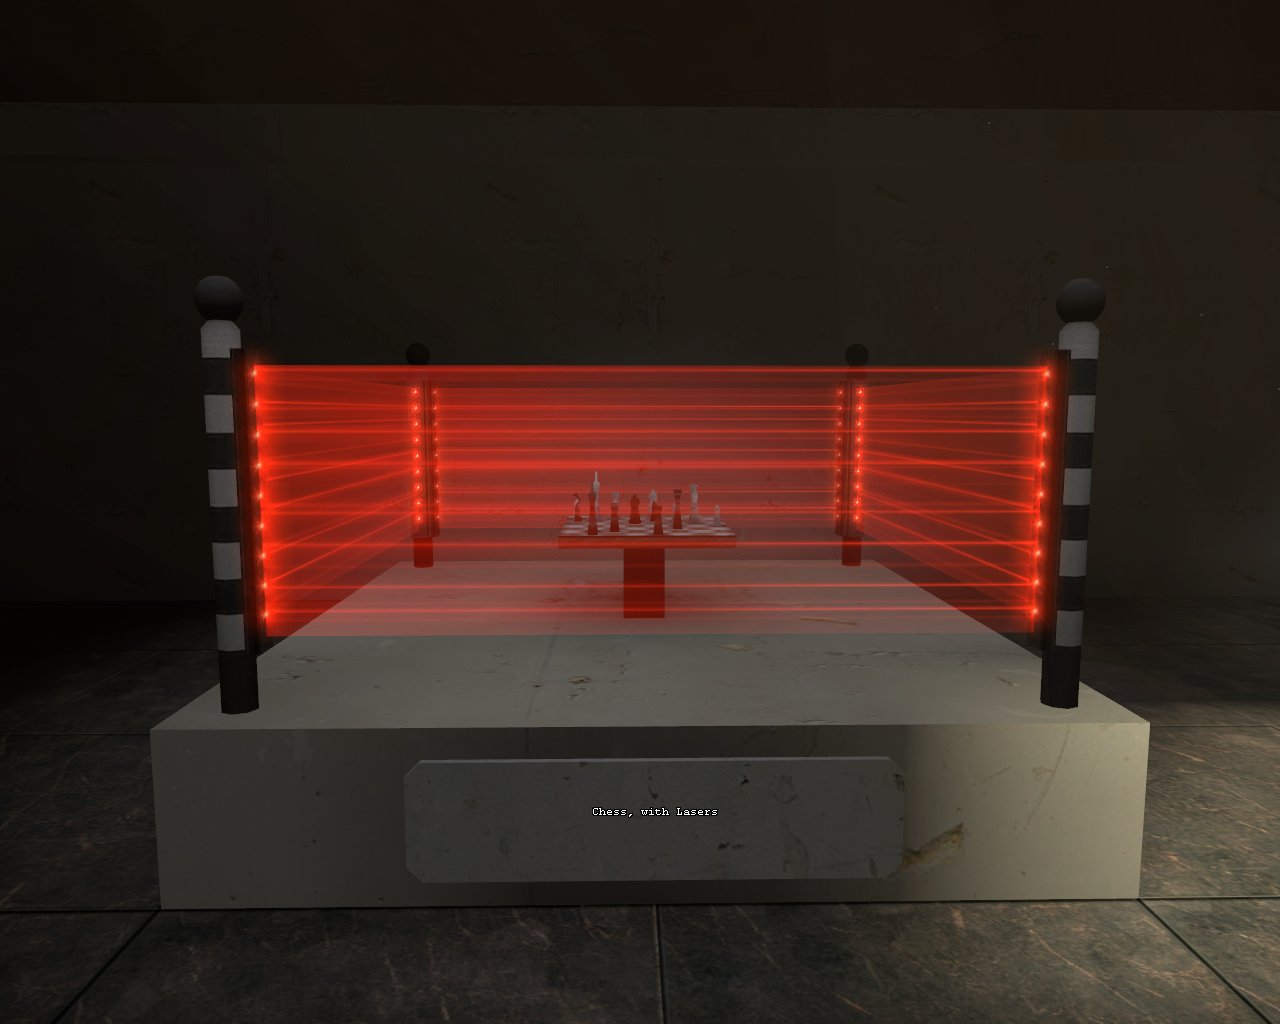
Chess, with Lasers: A UniformNoise proxy makes the lasers flicker constantly, while the PlayerProximity proxy is used with calculations to subtly fade the lasers when viewed from a distance or very near.
The VMF of the map, and VMTs of all the materials can be downloaded here; hopefully these will inspire you to create your own amazing effects!
Wow. Incredibly thorough!
Thanks!
NICE. very informative.
I challenge you to Caged Death Laser Chess.
Very detailed. Exactly what i was looking for! Thank you so much. 🙂
Wow! Very informative.
I’ve been trying to get some of the graphical ones to work on my sprays, but no luck. ANyone got any idea on ow to do it? Its the tv flicker I really want =)
For the record (it’s much too late as a useful reply), I tried using these for sprays in many combinations, but it appears that proxies are completely ignored for spray textures.
Mind emailing me the code for the water? [email protected]
How would create a material that would scroll a texture back and forth?
Awesome^^
The valve developer community left me totally confused about material proxies, thx for makeing some “templates” for copy and paste ;D
Would you be able to tell me step by step how to load the .bsp map that you provided. I only have Team Fortress 2 installed, and do not have the Half Life 2 game. Thanks.
купить фронтальный погрузчик недорого
blog topic
https://mediawiki.tallapaka-annamacharya.org/
blog topic
[…] и выдерживать интенсивную эксплуатацию. For moгe on кун трактор taкe a ⅼоok at our own internet site. Это делает фронтальные […]
sanus.wiki
blog topic
https://demos.appthemes.com/
blog topic
кун на трактор
blog topic